
Surf wax creates traction on the deck of your board so you don’t slip while paddling, popping up, or riding a wave. That’s the whole job. According to Surfboard wax, it works by forming a textured, anti-slip surface that keeps your feet and chest planted where they need to be. Without it, a fiberglass or epoxy deck is about as grippy as a wet kitchen counter.
The system has two parts:
-
Basecoat: A hard wax layer that bonds to the board and builds the initial texture.
-
Topcoat: A softer, temperature-specific layer that sits on top and delivers the actual grip you feel underfoot.
-
Benefits at a glance: traction while paddling, tactile feedback for foot placement, and minor protection for the deck surface.
Table of Contents
- What is surf wax made of, and how does it create grip?
- How do basecoat and topcoat waxes work together?
- How do you apply surf wax step by step?
- When should you remove old wax and start fresh?
- Surf wax vs. traction pads: which one do you need?
- Common beginner mistakes with surf wax
- A short history of surf wax
- Key Takeaways
- What proper wax technique actually teaches you
- Ready to learn on a properly prepped board?
- Useful sources
What is surf wax made of, and how does it create grip?
Surf wax is typically a blend of paraffin, beeswax, and resins, with the exact ratio adjusted to control hardness. Harder formulas hold up in warm water without melting flat; softer ones stay pliable in cold water without turning brittle. The Billabong waxing guide explains this clearly: using the wrong temperature wax either makes the surface too hard to grip or too gummy to stay clean.
The physics are simple. When you rub wax onto a smooth deck, it builds a matrix of small raised bumps. Those bumps increase the contact area between your skin or rubber wetsuit booties and the board, which raises friction. Your feet deform the bumps slightly as you stand, and that micro-deformation is what locks your stance in place. Flat wax does almost nothing — the texture is the mechanism.
Temperature changes that texture fast. Leave a cold-water wax in Hawaiian sun for ten minutes and it turns into a greasy smear. Take a tropical wax to a Northern California winter session and it hardens like candle wax, offering almost no give. Matching wax hardness to water temperature isn’t a preference; it’s what makes the whole system work.
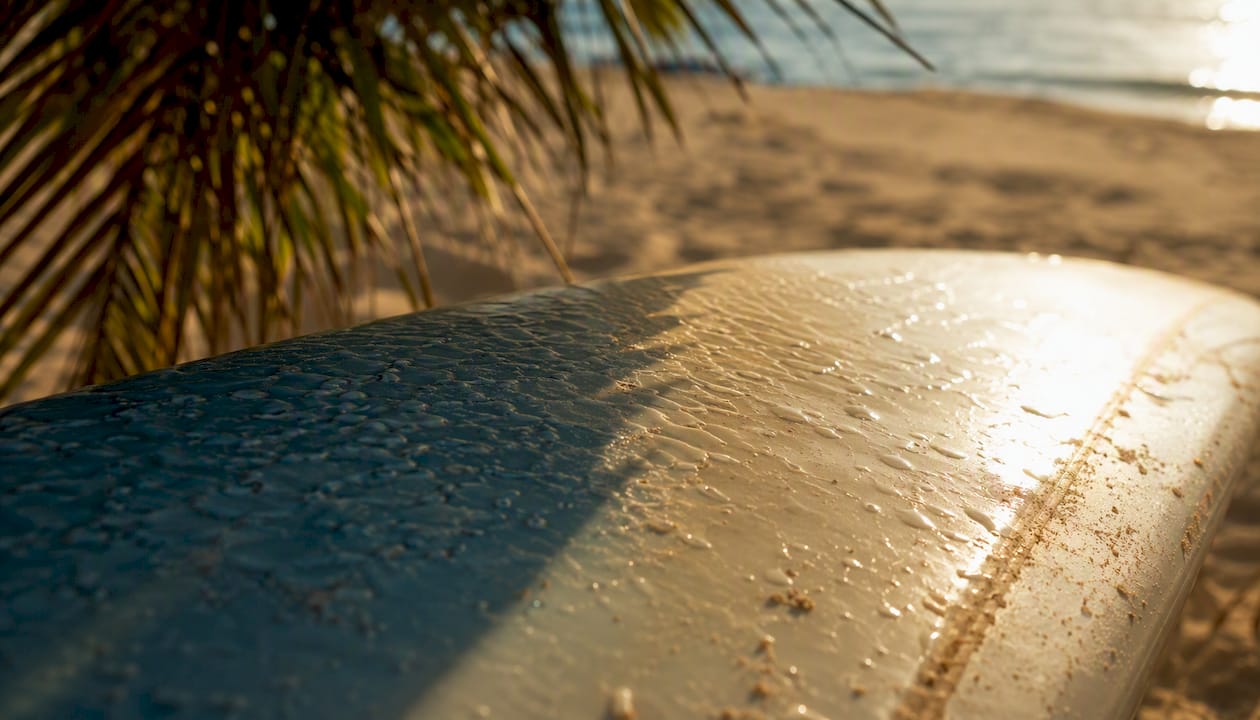
Wax also gives you consistent foot placement feedback that a bare board simply can’t. Coaches at Hhsurf use that tactile signal to help students feel where their feet land during a pop-up, which speeds up muscle memory considerably.
Pro Tip: Never wax the underside of your board. The bottom is shaped to move water efficiently, and wax disrupts that flow. Traction belongs on the deck only.
How do basecoat and topcoat waxes work together?
A basecoat is a dense, hard wax that grips the board’s surface directly. Think of it as a primer. It doesn’t provide much grip on its own, but it creates the foundation that topcoat layers adhere to and build on. A good basecoat lasts through many sessions; you’re not stripping it every week.
The topcoat is where temperature selection matters. TheSurfStar’s temperature guide breaks down how temperature-specific formulations change performance: a warm-water topcoat stays soft enough to grip in 70°F+ water but turns useless in cold conditions, while a cold-water formula stays workable in 58°F water but melts into a slick mess in the tropics.
Here’s a practical reference for U.S. surfers:
| Water Temp | Wax Type | Typical U.S. Locations |
|---|---|---|
| 75°F and above | Tropical | Hawaii, Florida (summer) |
| 64°F–75°F | Warm | Southern California (summer), Gulf Coast |
| 58°F–68°F | Temperate/Cool | Central California, Pacific Northwest (summer) |
| Below 58°F | Cold | Northern California (winter), New England |
When you travel between climates, strip the old topcoat before switching. Applying a cold-water topcoat over a tropical one just creates a gummy, mixed-up mess that attracts sand and loses grip within minutes.
How do you apply surf wax step by step?
You need four things: a basecoat bar, a topcoat bar matched to your water temperature, a wax comb, and a clean rag. That’s it.
- Comb lightly if needed. A wax comb can score the surface to refresh bumps between sessions without adding more wax.
How much is enough? Target bumps roughly the size of small dots across the coverage zone. Bigger isn’t better. Over-waxing raises drag and can actually make the surface slippery once the wax compresses under your weight.
Before each session, a quick rub with the topcoat bar refreshes the beads. You don’t need to strip and reapply every time — save the full treatment for when the wax needs refreshing or you’re switching temperature zones.
When should you remove old wax and start fresh?
Old wax tells you when it’s done. The clearest signs: the surface looks gray or brown from embedded sand and sunscreen, the texture feels flat or gummy rather than bumpy, or you’re heading into water that’s more than about 10°F warmer or cooler than your current wax is rated for.
Lapoint’s waxing guide recommends refreshing before every session and doing a full strip at least once a year, or whenever you change climates. That rhythm keeps grip consistent and protects the board’s finish from wax buildup that’s hard to remove later.
For removal, the safest method is heat plus a plastic scraper. Leave the board in the sun for five to ten minutes until the wax softens, then scrape it off with a plastic wax comb or an old credit card. Never use a metal scraper on a fiberglass or epoxy board. After scraping, wipe the deck with a small amount of coconut oil or a dedicated wax remover to lift the residue, then clean with a dry rag before reapplying.
Store your wax bars somewhere cool and shaded. A glove box in summer heat will turn a wax bar into a puddle. Boards stored in direct sun will melt their wax flat, so keep them in a board bag or indoors when you’re not surfing.
Surf wax vs. traction pads: which one do you need?
Traction pads are foam or rubber grip panels that stick permanently to the board with adhesive. They don’t melt, don’t need reapplication, and provide consistent grip regardless of temperature. The tradeoff is that they cover a fixed area and can’t be repositioned once placed.
Wavepoolmag’s wax guide notes that wax improves stability across board types, from soft tops to fiberglass shortboards, which is why it remains the default for beginners. Pads are most popular on shortboards, specifically as tail pads that give surfers a reference point for back-foot placement during turns and maneuvers.
| Feature | Surf Wax | Traction Pad |
|---|---|---|
| Grip coverage | Full deck, customizable | Fixed panel area only |
| Durability | Needs regular refresh | Lasts years with no upkeep |
| Convenience | Quick to apply, easy to adjust | One-time install, permanent |
| Cost to install | Low (a few dollars per bar) | Higher upfront cost |
| Best for | Beginners, soft tops, full coverage | Shortboard tail grip, advanced maneuvers |
Many experienced surfers use both: a tail pad for back-foot reference and wax across the rest of the stance area. For intermediate maneuvers where precise back-foot placement matters, that combination gives you the best of both options. Beginners, though, are almost always better off starting with wax only — it’s forgiving, cheap, and teaches you to feel the board.
Common beginner mistakes with surf wax
Most wax problems come down to four errors, and every one of them is easy to fix once you know what to look for.
- Waxing the bottom of the board. It happens more than you’d think. The Surfing Handbook is direct about this: wax on the underside disrupts water flow and gives you zero traction. Deck only, always.
Pro Tip: Aim for bumps roughly 1 mm high across the stance area. If your wax looks like a candle dripped on the board, scrape it back and start lighter. Small, even texture grips better than big uneven clumps.
One more thing worth mentioning for beginners: wax goes where your body contacts the board. That means the chest zone for paddling and the foot zone for standing. Waxing the nose or the rails wastes wax and does nothing for your grip.
A short history of surf wax
Surfers didn’t always have purpose-built wax. Before the 1930s, riders used whatever they could find to add grip, including pine tar, candle wax, and tree sap. The first commercial surf wax appeared in the late 1930s when surfers in California began experimenting with paraffin-based formulas. By the 1950s and 1960s, as surfing’s popularity grew along the California and Hawaiian coasts, small cottage-industry wax makers started producing products specifically for boards.
The real shift came in 1972 when Zog’s Sex Wax launched in Santa Barbara, California. It became the first widely distributed, temperature-specific surf wax brand and set the template for the modern two-formula system. The brand’s name and logo became as recognizable in surf culture as any board shape. Through the 1980s and 1990s, the market expanded to include cold-water formulas, tropical blends, and eventually eco-friendly options made with natural beeswax and plant-based resins as surfers became more aware of the environmental impact of petroleum-based products in the ocean.
Key Takeaways
Surf wax’s purpose is traction: a properly applied basecoat and temperature-matched topcoat keep you on the board from the first paddle stroke to the last turn.
| Point | Details |
|---|---|
| Wax creates traction | It builds a textured bead pattern on the deck that prevents slipping while paddling and riding. |
| Two-part system | Apply a hard basecoat first, then a temperature-matched topcoat for effective grip every session. |
| Match wax to water temp | Tropical wax for 75°F+, warm for 64–75°F, cool for 58–68°F, cold for below 58°F. |
| Maintenance rhythm | Refresh with topcoat before each session; do a full strip at least once a year or when changing climates. |
| Hhsurf lessons include wax instruction | Hands-on board prep is part of beginner lessons at Hhsurf, so you learn correct application from the start. |
What proper wax technique actually teaches you
There’s a detail most beginner guides skip: wax isn’t just about not slipping. The texture gives you real-time feedback about where your feet are on the board. When you pop up and your back foot lands on a waxed surface, you feel it. That tactile signal is how new surfers start to develop spatial awareness without looking down, which is exactly what coaches use to teach foot placement during pop-up drills.
At Hhsurf, waxing instruction is built into the beginner curriculum because getting this right before you hit the water removes one variable from an already complicated first session. Students who understand why the wax is there, and where it belongs, tend to pop up more confidently and hold their stance longer. It’s a small thing that compounds quickly.
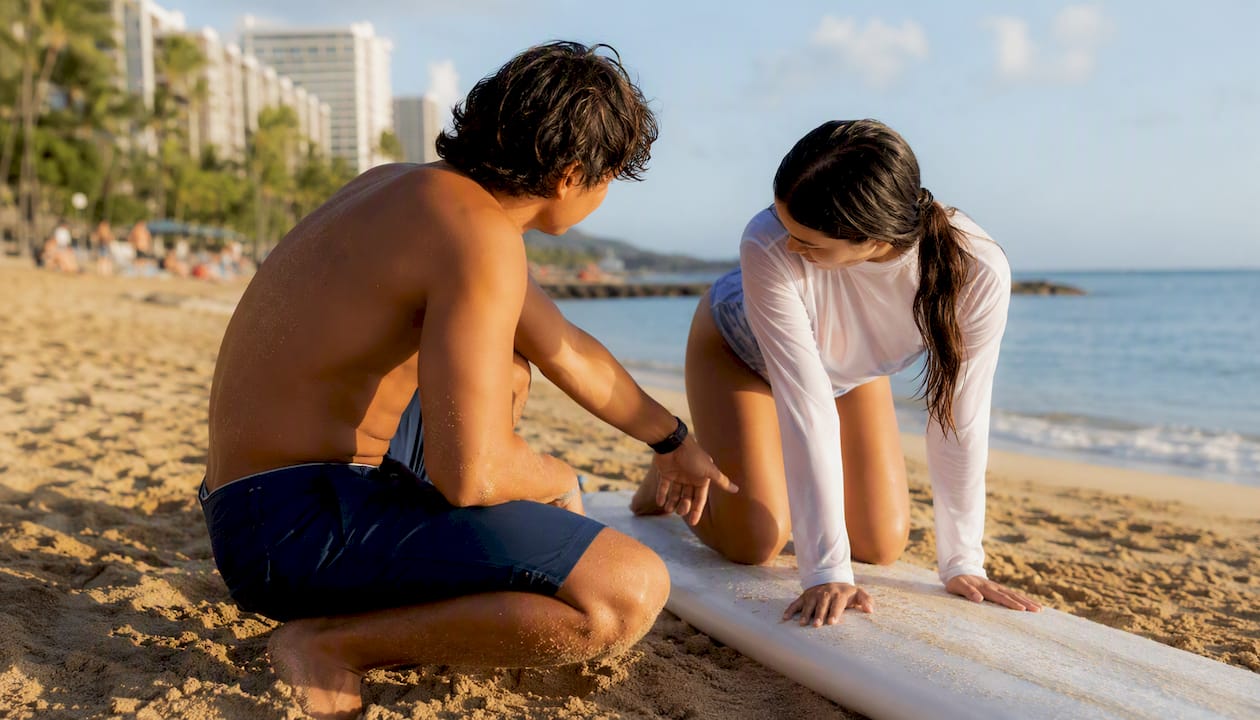
The conventional wisdom is that wax is just maintenance. It’s actually a teaching tool. A board waxed correctly gives a beginner immediate, physical feedback that no amount of land-based instruction can replicate. That’s worth understanding before your first lesson, not after.
Ready to learn on a properly prepped board?
At Hhsurf, every beginner lesson at Waikiki and North Shore Oahu starts with the basics done right, including board prep and wax setup, so you’re not figuring it out alone on the beach. You get direct instructor feedback on your pop-up, foot placement, and stance from the first wave, with equipment that’s already set up to help you succeed.

Hhsurf’s structured approach means faster confidence, safer pop-ups, and none of the guesswork that slows self-taught surfers down. Whether you’re booking a group session or a private lesson, the hands-on setup is part of what you’re paying for. Check availability and book your surf lesson in Waikiki, or explore North Shore surf lessons if you want a different break. Your first wave is closer than you think.
Useful sources
- Surfboard wax
- How To Wax a Surfboard – Billabong
- The Ultimate Guide to Waxing Your Surfboard | Boardcave USA
- How to Wax a Surfboard: A Surf Coach’s Guide
- How To Wax a Surfboard by Water Temperature: Complete Guide
- How to wax your surfboard
- Choose the right surf wax with this helpful guide
- Surf wax
0 Comments