
Photographing surf lessons comes down to three non-negotiables: get permission before you shoot, with written consent for anyone under eighteen, put safety ahead of the shot every single time, and settle usage terms with the surf school before you ever raise your camera. Skip any of these and you risk a ruined relationship, a liability headache, or worse, a collision in the water.
TL;DR:
- Always obtain written permission from surf schools and parents before photographing minors, and clearly define usage rights and durations in releases.
- Stay well back from the takeoff zone, wear safety gear, and be aware of your surroundings to prevent accidents and avoid disrupting lessons.
- Use a 70-200mm lens with fast shutter speeds for safe, flattering shots, and carry backup batteries and waterproof storage to ensure reliable coverage.
- Secure explicit consent before flying drones near lessons, checking local regulations and notifying the school, and avoid drone use unless necessary and fully approved.
- Approach surfers and instructors beforehand, confirm their comfort, and respect their space and signals to foster trust and prevent conflicts.
Table of Contents
- How to coordinate with surf schools and document permissions
- Where to stand and how to stay safe in the water
- Choosing lenses and camera settings that keep you out of the way
- When drones are appropriate and how to fly within the rules
- Consent, publication rights, and what the law expects
- Delivering, licensing, and respecting opt-outs
- How Hans Hedemann Surf School frames photo partnerships
- Respecting personal space and avoiding distraction during lessons
- Guidelines for approaching and communicating with surfers before photographing
- Editing and sharing images responsibly
- Why respect pays off longer than any single shoot
- Book a lesson or propose a collaborative shoot with us
- FAQ
- Sources
How to coordinate with surf schools and document permissions
Reaching out to a surf school starts with a short, specific pitch: tell them how many edited images you plan to deliver, your turnaround time, and whether those photos are meant for web use, social posts, or both. Some photographers trade prints or a digital gallery for access; others charge the school or the students directly at published rates. Either way, clarity upfront prevents awkward renegotiation later.
Separate participation from consent to publish. A student can take a lesson without ever appearing in a marketing photo, and a parent should be able to decline publication without affecting their child’s spot in the water. Model photography policy templates used across youth sports organizations build in exactly this separation, along with sample consent language you can adapt.
Before the lesson, share a short checklist with the school:
- Confirm your arrival time and where you’ll set up.
- Ask which zones are safe for a photographer to stand or swim.
- Describe the shots you’re hoping to capture so instructors aren’t caught off guard.
- Find out how the school will notify parents that a photographer is present.
Where to stand and how to stay safe in the water
Beach-based shooting and water-based shooting call for different judgment. From the sand, stay well back from the takeoff zone and never cross an instructor’s sightline to their students. In the water, the margin for error shrinks fast.
- Keep a flotation aid or wear a helmet, especially near reef breaks or crowded lineups.
- Always know your exit route before you swim out, not after you’re already tired.
- Swim port up when diving under a wave so your housing doesn’t take the impact for you.
- Stay aware of every board and every surfer around you, not just the one in your viewfinder.
Watch for signs that you’ve overstayed your welcome: an instructor waving you off, repeated corrections shouted toward a student near you, or a takeoff zone that’s suddenly too crowded for one more body in the water. Back off before anyone has to ask twice.
Pro Tip: If an instructor gives you a hand signal mid-lesson, treat it as an instruction, not a suggestion, and move immediately.
Choosing lenses and camera settings that keep you out of the way
A 70-200mm lens is the workhorse for surf lesson photography because it lets you shoot tight, flattering frames from a safe distance, whether you’re on the beach or anchored in a channel outside the impact zone. Go wider only when you’re documenting the group setup on sand, and reach for something longer only if the school explicitly clears you to shoot from well outside the lineup.

For settings, a fast shutter speed (1/1000 or quicker) freezes the pop-up moment, continuous burst mode catches the split second a beginner finds their balance, and a touch of positive exposure compensation corrects for the glare bouncing off flat, overcast ocean light.
A few gear notes that matter as much as the lens choice:
- Leash your housing to your wrist or a float, so a dropped camera doesn’t become a hazard.
- Carry backup batteries; cold water and salt air drain them faster than you expect.
- Use a waterproof card case so a dunking doesn’t cost you the whole shoot.
When drones are appropriate and how to fly within the rules
Aerial shots of a lesson look great, but FAA guidance on operations over people requires remote pilots to assess risk before flying over a crowd and sets specific conditions for routine operations in those situations. Local beach ordinances frequently add stricter limits on top of federal rules, so checking both before a shoot is not optional.
Never fly over a group of students or minors without written permission from both the school and each participant’s parent or guardian. Before any flight near a lesson:
- Confirm your remote pilot certification is current, if your operation requires one.
- Check for local drone bans or NOTAMs covering the beach.
- Brief the school on your flight plan and keep the route conservative.
Experienced water photographers often recommend staying clear of drone use entirely unless the shoot specifically calls for it and every permission is documented in writing, according to FAA operations-over-people rules.
Consent, publication rights, and what the law expects
A signed release matters most when a minor is involved, and it should spell out the scope of use, how long the consent lasts, which platforms the images may appear on, and how a parent can revoke that consent later.
- State the exact scope: website, social media, print, or all three.
- Set a duration, so consent doesn’t run indefinitely without review.
- Include a clear revocation process the family can actually use.
- Never make participation in the lesson conditional on signing.
California’s AB2007 illustrates how seriously some states take this: the bill restricts public use of youth program participants’ images for marketing unless the program secures express written parental consent, and it explicitly forbids conditioning participation on that consent. Even where you shoot outside California, the same caution applies, because the underlying concern (protecting minors from unconsented commercial use) is universal. Keep signed releases on file, and when a removal request comes in, act on it promptly rather than negotiating around it.
Delivering, licensing, and respecting opt-outs
Once the lesson wraps, how you hand off images matters almost as much as how you captured them.
- Deliver through a private gallery or school-only access link rather than posting everything publicly by default.
- Set a reasonable download window so files don’t sit exposed indefinitely.
- Agree licensing terms before the shoot: nonexclusive use is usually fairer to both sides than an exclusive grab, and you should specify which platforms are covered, whether attribution is required, and how long the license runs.
- When someone opts out after the fact, remove the image from every public channel you control and note the date you did it.
That last step protects you as much as the subject. A documented removal is proof you took the request seriously.
How Hans Hedemann Surf School frames photo partnerships
Hans Hedemann Surf School publishes its own surfing etiquette guide for beginners, laying out lineup rules and instructor expectations that any visiting photographer can use as a working template. Its surf lesson pages describe a beginner-first teaching approach with an emphasis on safety from the first wave onward, which is the same standard a photographer should hold to when shooting nearby.
A practical checklist drawn from that published approach:
- Read the school’s etiquette page before you propose a shoot, so your pitch matches their existing standards.
- Ask about kid-specific lessons separately. The school’s own guidance on choosing a kids’ surf instructor is a useful reference when minors are involved.
- Confirm who supplies boards, since rental versus lesson equipment logistics affect where students enter and exit the water.
Respecting personal space and avoiding distraction during lessons
A beginner surfer is already juggling balance, timing, and nerves. Adding a photographer crowding their personal space turns a learning moment into a performance, and performance anxiety is the fastest way to stall someone’s progress. Keep enough distance that your presence registers as background, not as an audience.
Avoid calling out instructions or encouragement mid-wave, even with good intentions. That’s the instructor’s job, and a second voice shouting from the beach can confuse a student who’s already processing one set of cues. Save your feedback and any “nice one” comments for after the wave is over.
Watch your shadow and your silhouette, too. A photographer standing between the sun and a student can throw a distracting shadow across the water right as they’re trying to spot the wave. Small positioning adjustments, like moving a few feet to either side, solve this without requiring you to leave the area.
If you’re shooting a private or semi-private lesson, ask the instructor how much space they’d like you to keep during the briefing portion on the sand. Some instructors prefer total quiet while they explain pop-up mechanics; others are fine with a photographer moving around as long as it’s outside the immediate teaching circle. Asking once at the start saves you from guessing wrong for the rest of the session.
Guidelines for approaching and communicating with surfers before photographing
Introduce yourself before you introduce your lens. A quick conversation, even thirty seconds, tells the surfer who you are, why you’re there, and what you plan to do with the images. That small step turns a stranger with a camera into a known, welcome presence.
Ask directly whether they’re comfortable being photographed, and don’t treat silence or a shrug as a yes. If a student seems hesitant or embarrassed about their skill level, that’s information worth respecting. Beginners often worry about looking clumsy on their first wave, and a photographer hovering nearby can amplify that self-consciousness.
When the lesson involves a group, loop in the instructor rather than approaching each student individually mid-session. A single conversation with the lead instructor before the lesson starts, covering who’s comfortable being photographed and who isn’t, is far less disruptive than interrupting the group later to ask around.
For families, address the parent or guardian directly rather than assuming a child’s enthusiasm counts as consent. Operationally, a short safety brief from the lead instructor before you start shooting, covering entry and exit points, hand signals, and emergency procedures, doubles as a natural moment to confirm who’s comfortable appearing in your photos. Write down what’s agreed so there’s no confusion later about who said yes to what.

Editing and sharing images responsibly
Editing is where privacy decisions often get overlooked. Resist the urge to post every usable frame; curate down to the images that actually show good form or a meaningful moment, and skip the ones that catch someone mid-wipeout in an unflattering way, even if the exposure and composition are technically your best shots.
Strip identifying metadata before sharing files publicly, particularly location data that could reveal exactly where a family vacations or where a child takes regular lessons. Caption carefully, too. Avoid tagging a minor’s full name, even with a parent’s casual permission, since a caption lives online far longer than the conversation that approved it.
When you share a gallery with the school or the family, make the process easy to review before anything goes public. A simple proofing step, where the subject or parent can flag an image they’d rather you not post, costs you little and prevents a far more awkward conversation after the fact. If someone asks you to take an image down, do it the same day and confirm it’s done.

Why respect pays off longer than any single shoot
One unsafe swim into a crowded lineup, or one photo posted without consent, can end a relationship with a surf school permanently, long after anyone remembers how good the shot looked. Word travels fast among instructors.
Treat every shoot as the first of many. A standardized release form, a consistent pre-lesson briefing, and a habit of asking before assuming will earn you repeat invitations that no single viral photo ever will.
— Johann
Book a lesson or propose a collaborative shoot with us
If you’re a photographer looking to shoot in a setting where safety and consent are already built into the experience, our surf lessons in Waikiki are a practical place to start a conversation, since we handle parental consent and safety briefings as part of how we run every session.
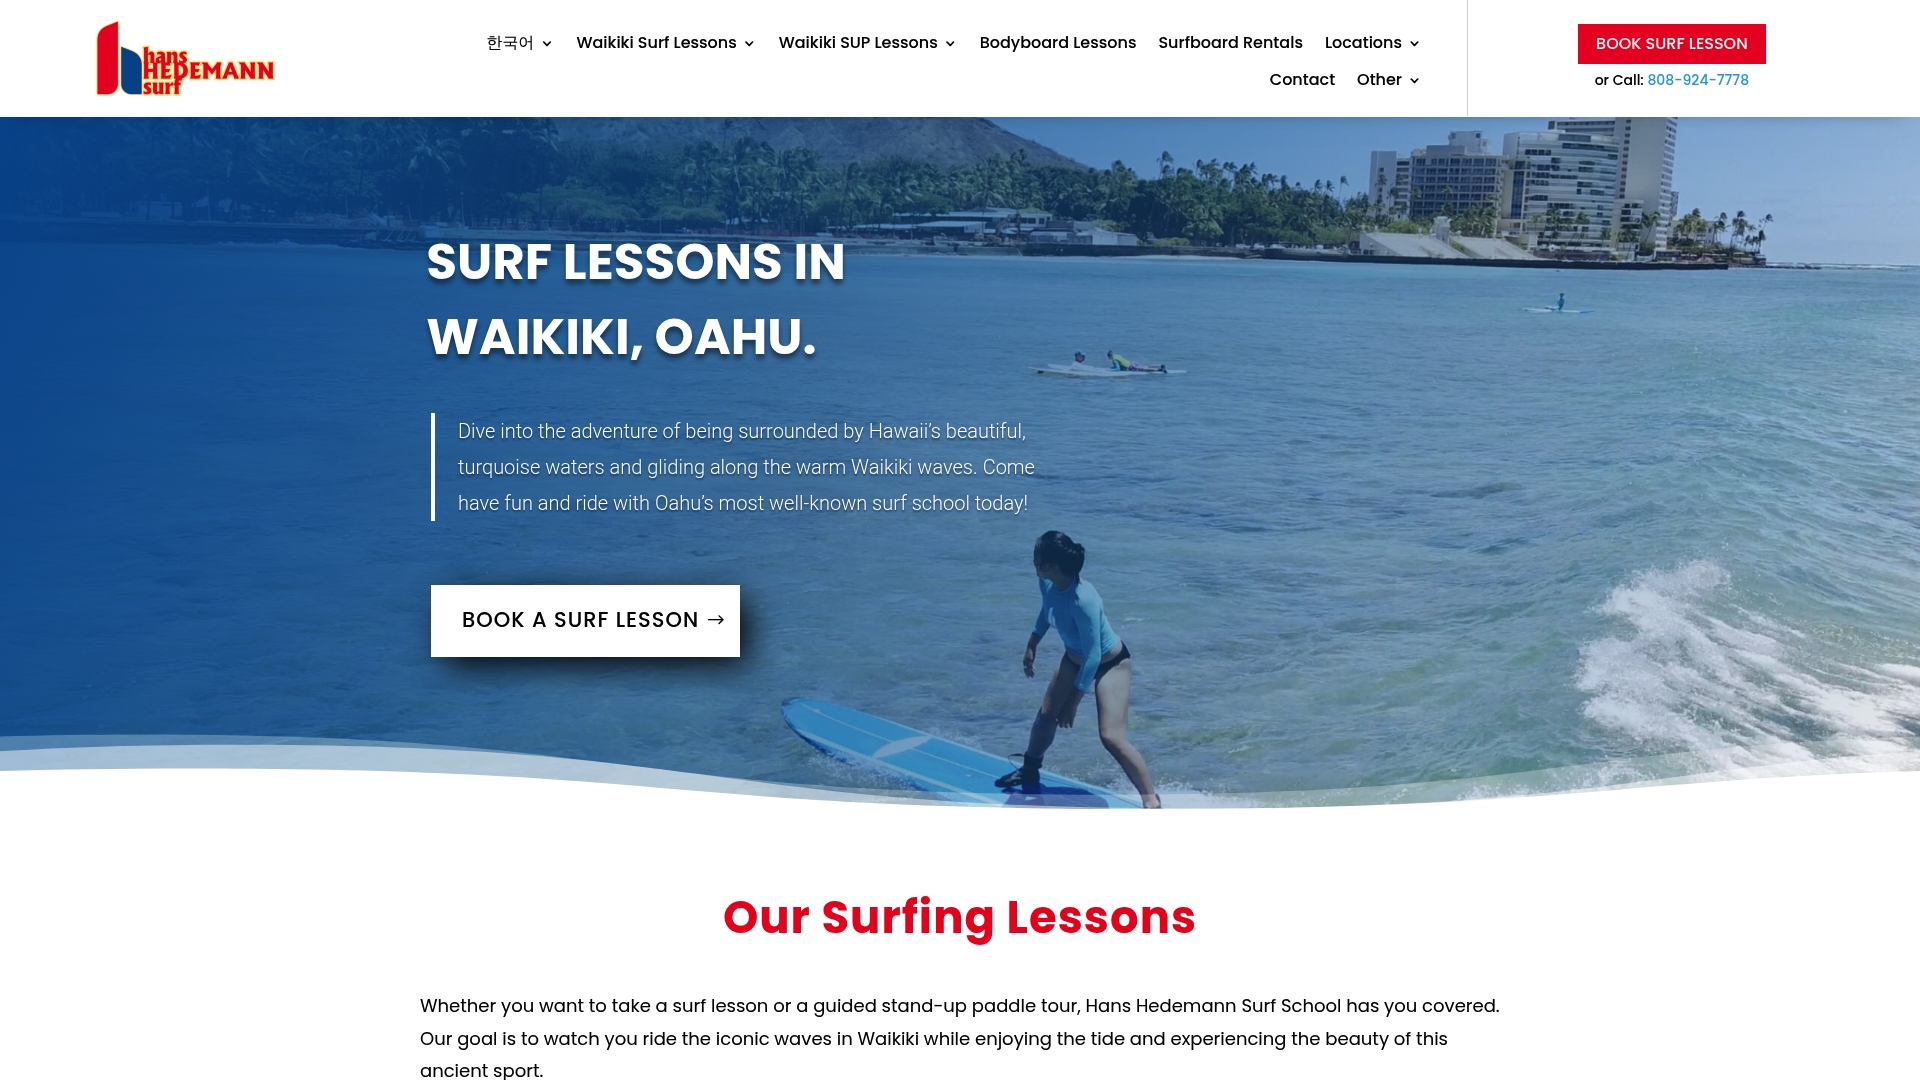
For visitors who’d rather book a lesson with photography included than arrange their own shoot, here’s what that looks like:
- Group Lessons have a fee per person.
- Private Lessons have a fee per person.
- Surf with a Pro has a fee per person.
Reach out through our surf lesson page to ask about a collaborative shoot or to book a lesson that includes on-water photos.
FAQ
What is the “20/60/20 rule” in photography?
Definitions of this rule vary by niche and aren’t standardized for surf photography specifically, so treat any version you encounter as a loose guideline rather than an industry standard. If a surf school or client references it, ask them to clarify the exact framing they mean before you plan a shoot around it.
What is the 12 second rule in surfing?
This term isn’t a documented or widely sourced surfing rule, so we can’t confirm a specific definition. If you’ve heard it referenced locally, check with the surf school or lifeguard staff for their own interpretation before relying on it.
What are some beach photo mistakes to avoid?
Common mistakes include crowding the takeoff zone, shooting from an instructor’s blind spot, and publishing images before confirming consent, especially for minors. Using a lens that’s too short for the water also forces you closer to the action than is safe, which experienced surf photographers caution against in favor of a 70-200mm from a safe distance.
How much should you tip for a surf lesson?
Tipping amounts for surf lessons aren’t standardized or publicly listed, so the right amount comes down to personal judgment and local custom rather than a fixed figure. If you book with us, you’re welcome to ask our instructors directly about their preference.
What should I include in a photo release for a surf lesson?
A solid release names the scope of use (web, social, print), sets a duration, explains how to revoke consent, and makes clear that signing is never a condition of participating in the lesson. Model policy templates used by youth sports organizations offer sample language you can adapt directly.
Sources
- Bill Text: CA AB2007 | 2025-2026 | LegiScan
- FAA: Operations Over People — UAS
- Zak Noyle offers lineup safety pro tips for surf photography — The Inertia
- Appendix D: Model photography policies (sample forms and guidelines)
0 Comments