
A kids’ wetsuit must fit like a snug second skin across the torso and neck to actually work. That’s the whole thing. A suit that’s even one size too large will flush cold water through every gap, leaving your child shivering on the board instead of focused on paddling. Before you buy anything, do this: weigh your child, measure their height, check the brand’s size chart using weight first, then run a quick movement test with the suit on. That sequence handles most fit decisions.
For quick reference, Le Grom’s toddler sizing guide and the Hurley kids chart are two of the clearest starting points. At Hhsurf, instructors run a fast three-point check at the start of every kids lesson: neck seal, shoulder mobility, and lower-back gap.
More on that below.
Key Takeaways
A snug torso and sealed neck are the two non-negotiable fit points in any kids’ wetsuit; everything else is secondary.
| Point | Details |
|---|---|
| Weight-first measurement | Weigh your child first, then confirm with height; chest and waist refine the choice for kids 8 and older. |
| Go smaller on borderlines | When measurements fall between two sizes, choose the smaller one to preserve a watertight seal. |
| Run the movement test | Raise arms, squat, bend forward, and check the neckline before buying; these catch most fit problems. |
| Match thickness to water temp | Use a 3/2 fullsuit for mid-cool water; a 5/4 for colder water; a shorty for warm-water vacations above 72°F. |
| Hhsurf fit check included | Hhsurf instructors run a neck-seal and mobility check at the start of every kids lesson, with rental swaps available on the spot. |
Table of Contents
- How to use this kids surf wetsuit fitting guide: measuring at home
- How to read brand size charts without guessing
- What a correct fit looks and feels like
- Run these fit tests before you buy
- Choosing suit type and thickness by water temperature
- Entry systems and features that affect fit and ease of use
- When to size up for growth and when not to
- Putting on and caring for a kids’ wetsuit
- Why fit directly affects lesson safety and learning speed
- Hhsurf makes the fit check part of the lesson
- Sources
How to use this kids surf wetsuit fitting guide: measuring at home
Why weight comes first
Weight is considered a highly reliable measurement for kids, especially toddlers, because two children the same height can have very different chest and torso proportions. Height tells you roughly how long the suit needs to be; weight tells you whether it will seal around the torso. Le Grom’s size guide is explicit about this for the 2T–6T range: match weight to the chart first, then confirm with height.
Step-by-step measurement routine
- Weight: Have your child stand on a scale. If they won’t stay still, weigh yourself holding them, then subtract your own weight.
- Height: Stand them barefoot against a wall, feet flat, and mark the top of their head. Measure from floor to mark.
- Chest: Wrap a soft tape measure around the fullest part of the chest, just under the armpits. Keep it level and snug but not compressed.
- Waist: Measure at the natural waist (the narrowest point), with the child breathing normally, not sucking in.
- Inseam or torso length: Some brands, particularly for winter suits, ask for front torso length. For chest-zip models, measure from the lower center of the neck down to the lower abdomen across the front of the body.
Write every number down before you open a size chart. Common mistakes: measuring over clothes, letting kids stand on tiptoe, or pulling the tape too tight on the chest.
Pro Tip: For kids 8 and older, always pull the waist, hip, and inseam measurements too. Quiksilver’s boys 8–16 chart includes all of these because proportions shift significantly in that age range, and a height-only lookup will often land you in the wrong size.
How to read brand size charts without guessing
Most brand charts list age, height, weight, chest, and sometimes waist in columns. Age is the least reliable column; treat it as a rough filter, not a decision. Weight and chest are where you confirm.
When your child’s measurements fall between two sizes, go smaller. Hurley’s kids chart states this directly: order the smaller size on a borderline to preserve a watertight fit. A snug suit that feels firm dry will relax slightly after two or three uses as the neoprene breaks in. A loose suit never tightens up.
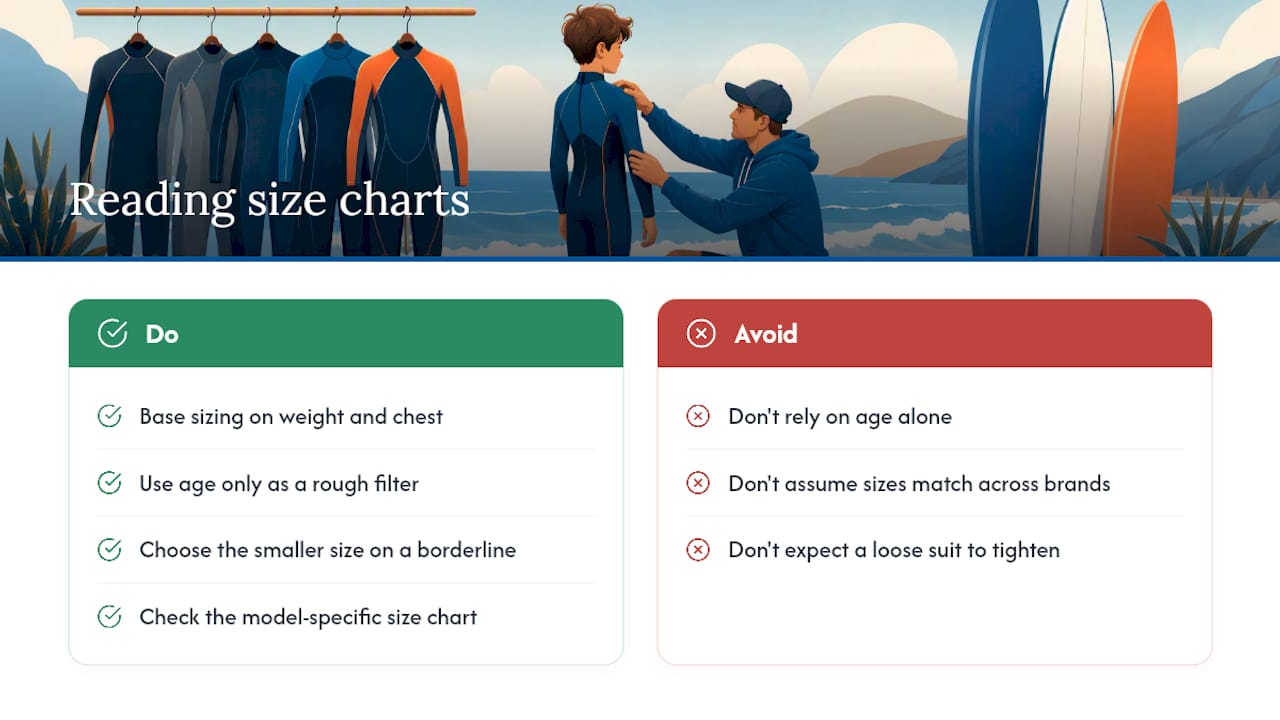
Brand charts also differ from each other more than you’d expect. O’Neill, Xcel, and Quiksilver all size slightly differently, and a child who wears a size 10 in one brand may need a 12 in another. The O’Neill kids chart on Evo makes a point worth remembering: different entry styles (chest-zip vs. back-zip) within the same brand can fit differently, so always check the chart for the specific model, not just the brand’s general page.
Xcel’s youth size chart goes a step further by offering medium-tall and large-short cuts for kids who are long and lean or shorter and stockier. If your child is consistently between sizes because of body proportions, look for brands that offer these alternate cuts before defaulting to the next size up.
What a correct fit looks and feels like
A properly fitted wetsuit should feel firm all over when dry. The neckline sits high and close to the throat. You can slide one finger under the neckline but not a fist. The torso has no sagging or bunching. Sleeves and legs may be slightly short, and that’s fine; the torso and neck seal are what matter most for warmth.
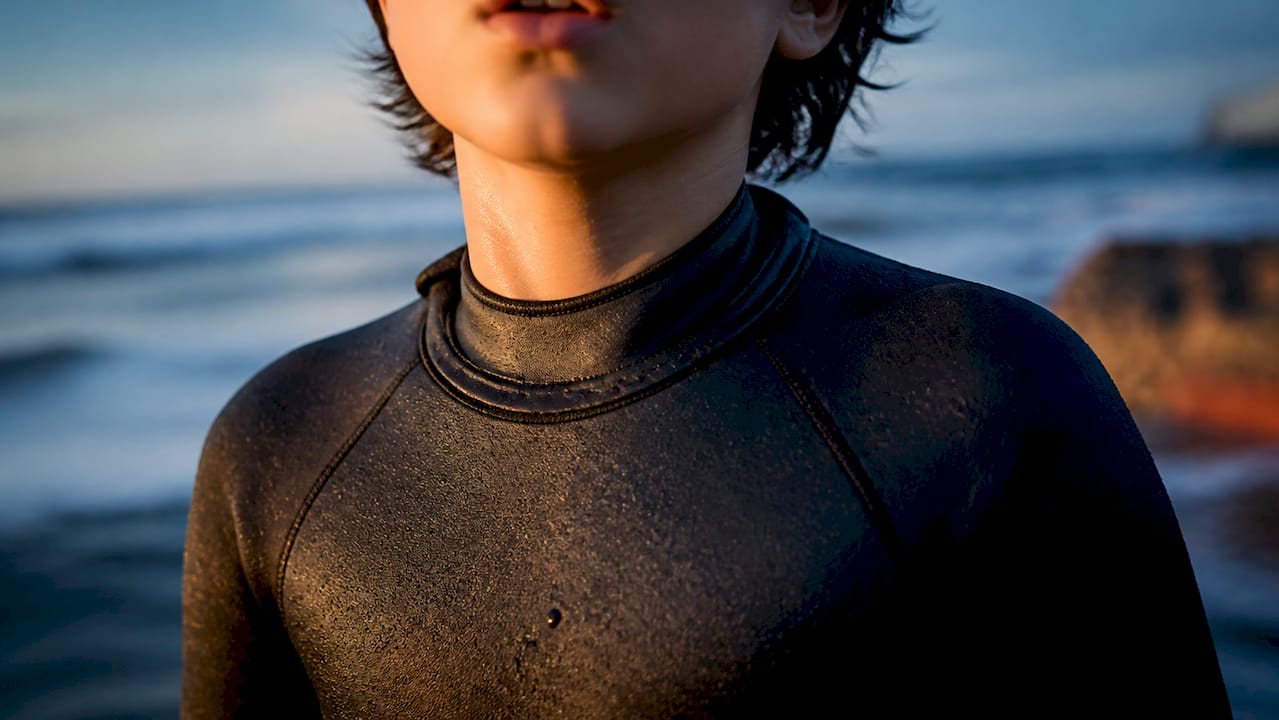
Decathlon’s wetsuit size guide describes it well: a wetsuit should fit like a second skin, with the neck sitting high to create a seal against water entry. That neck seal is the single most important fit point. A neck that gaps even slightly will let cold water flush through the torso every time your child ducks under a wave.
Run these fit tests before you buy
Once the suit is on, run through this checklist. It takes about two minutes and catches most problems before you’re standing at the water’s edge.
- Raise both arms overhead. The suit should move with the arms without pulling the neckline down or straining the zipper. If the neckline drops noticeably, the suit is too short in the torso.
- Simulate paddling. Have your child lie face-down on the floor and paddle their arms forward. Watch for shoulder restriction or the lower back pulling up and gapping.
- Squat fully. A full squat reveals whether the crotch seam is too high (too small) or sagging (too large).
- Bend forward at the waist. Check for bunching at the lower back. Visible folds here usually mean the suit is too large.
- Check the neckline. Pull it gently away from the throat. You should feel resistance. If it pulls away easily with a fist, it won’t seal in the water.
Signs it’s too small: zipper won’t close fully, suit digs into the underarms, child can’t raise arms past shoulder height, breathing feels restricted.
Signs it’s too large: sagging seat, bunching at the knees or underarms, neckline pulls away easily, visible folds at the lower back.
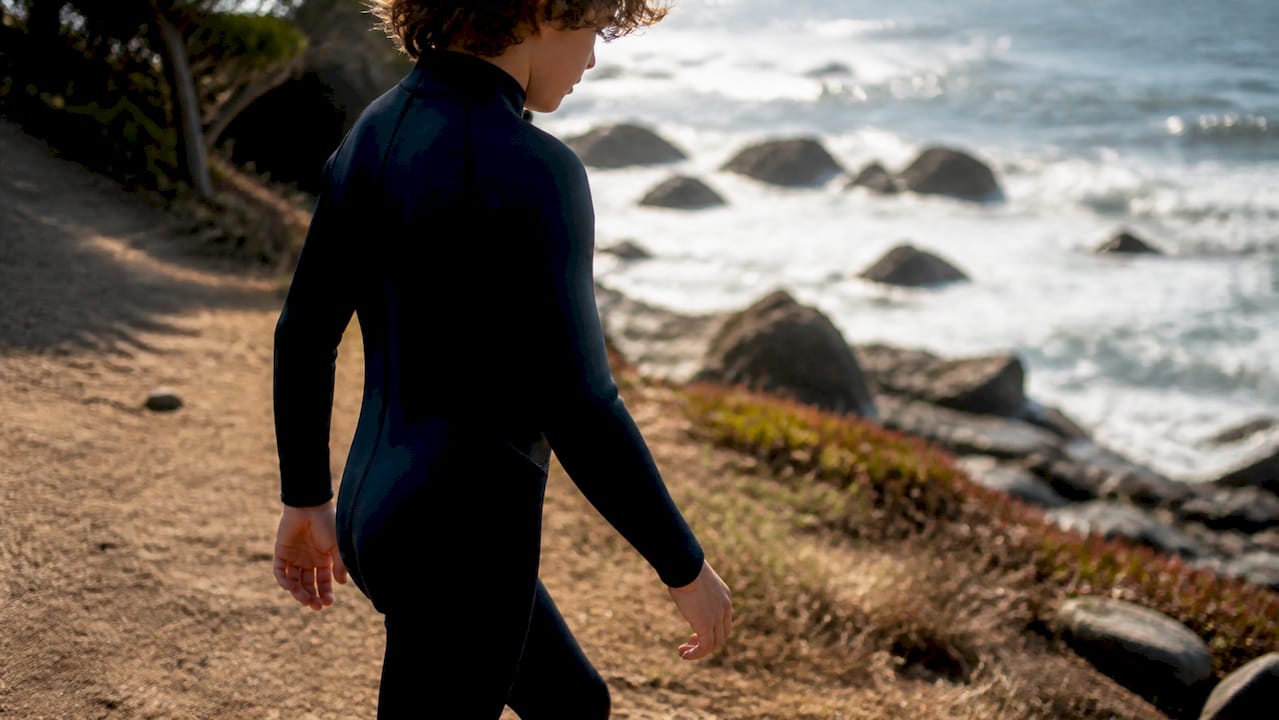
Pro Tip: The one fit cue most parents miss is the lower-back gap. Have your child walk a few steps while you watch from behind. If the suit lifts away from the lower back with each stride, cold water will flush in from the bottom every time they paddle. This check is the first thing Hhsurf instructors look for before a lesson starts.
Choosing suit type and thickness by water temperature
The right suit type depends on where and how often your child surfs. Here’s a practical selector:
| Water Temp | Suit Type | Neoprene Thickness | Notes |
|---|---|---|---|
| Above 72°F | Shorty or rash guard | 1mm or none | Warm-water vacation; fit precision less critical |
| 65–72°F | Spring suit (short arms/legs) | 2mm | Summer surf; some flexibility on fit |
| 58–65°F | 3/2 fullsuit | 3mm torso / 2mm limbs | Most common lesson suit; snug fit required |
| Below 58°F | 4/3 or 5/4 fullsuit | 4–5mm torso | Cold water; precise fit is non-negotiable |
A Surfdock guide recommends a 5mm fullsuit for kids who spend a lot of time sitting in the water (as beginners do during lessons) and a 3/2 for warmer seasons or occasional use. The thicker the suit, the more a poor fit reduces warmth, because improper sealing allows flushed water to cool the body.
- For warm-water vacations (above 72°F), a slightly less snug fit is tolerable because thermal protection isn’t the priority.
- For regular lessons or cold-water surf, a precise fit is non-negotiable. A loose 4/3 suit flushes water with every paddle stroke.
- Hooded suits add another seal point at the neck-to-hood junction; fit the hood snugly around the face without restricting head movement.
Entry systems and features that affect fit and ease of use
Back-zip suits are the easiest for kids to get in and out of, which matters when you’re changing on a cold beach. The trade-off is a slightly weaker seal at the upper back. For most beginner and intermediate kids, this is the right call.
Chest-zip suits seal better because the zip sits across the chest rather than the spine. They’re harder to put on, and the entry panel can feel stiff until broken in. Worth considering for regular surfers in cooler water.
Zip-free (also called glued-and-blind-stitched entry) suits offer the best seal of all but are the most difficult to get on. These are generally for older kids with more experience and patience.
Kid-specific features worth prioritizing:
- Reinforced knees: Kids spend a lot of time on their knees on the board; standard neoprene wears through fast.
- Ankle and wrist zips: Make getting the suit on and off much faster without overstretching the seams.
- Bright colors or panels: Visibility in the water matters, especially in a busy surf school lineup.
- Extra stretch panels: Look for these at the shoulders and underarms; they directly affect paddling range of motion.
Note that chest-zip models often require a slightly different torso measurement than back-zip models of the same nominal size. Always check the model-specific chart, not just the brand’s general size page.
When to size up for growth and when not to
The instinct to buy a size up “to grow into” is understandable, but for wetsuits it usually backfires. A suit that’s too large flushes water through every gap and loses most of its insulation. Surfdock’s guide is direct on this: a suit that’s too loose defeats insulation, and torso-level snugness is the most important fit factor.
For kids who surf regularly, buy the correct size now. For occasional or vacation use, one size up is acceptable if the child is close to the next size anyway. Never go more than one size up, and never size up through the chest or neck.
Renting makes sense when your child is in a rapid growth phase or you’re visiting somewhere with different water temps than home. Rental sizing at a surf school is a practical stopgap; the suits are checked regularly and replaced when they lose their seal. Once your child is surfing more than a few times a year, a properly fitted personal suit is worth the investment.
Putting on and caring for a kids’ wetsuit
Getting a wetsuit on correctly protects the seams and keeps the suit performing all season.
- Start with the legs. Feed one foot through at a time and pull the suit up to the hips before touching the upper body.
- Align the crotch seam. It should sit at the natural crotch, not sagging. If it sags, the torso will be too short when the suit is fully on.
- Work the arms in one at a time, pulling the neoprene up from the wrist toward the shoulder.
- Pull the neck up and into position before zipping.
- For back-zip suits, zip slowly from the bottom up. For chest-zip, fold the entry panel flat before sealing.
Taking it off: reverse the process, peeling from the shoulders down. Never yank the suit off by the collar or the ankle cuffs.
Basic care checklist:
- Rinse with fresh water immediately after every session, inside and out.
- Dry inside-out in the shade. Direct sun degrades neoprene faster than salt water does.
- Never put it in a dryer or leave it in a hot car.
- Store flat or on a wide, padded hanger. Wire hangers crease the neoprene and weaken seams.
- Check zippers and seams before each lesson. A small tear in a seam becomes a large one after one session.
Replace the suit when the neoprene feels thin or compressed, seams are separating, or the neck no longer seals even when the suit is the right size.
Why fit directly affects lesson safety and learning speed
A snug torso and sealed neck do more than keep a child warm. They reduce cold stress, which is the main reason young beginners lose focus and want to get out of the water early. A child who isn’t shivering can concentrate on the instructor’s cues, practice popping up, and build the muscle memory that leads to faster surf progression.
Restricted movement from a too-small suit is a real safety concern. If a child can’t raise their arms freely, their paddle stroke is compromised, and their ability to push up from the board is limited. In colder water, a suit that flushes cold water raises the risk of hypothermia, particularly for smaller children who lose body heat faster than adults.
At the start of every lesson, Hhsurf instructors run a quick check: neck seal standing, both arms raised, and a few walking steps to watch for lower-back gapping. These three checks catch most fit problems before anyone enters the water. Parents who want to understand what makes a lesson safe will find that gear fit is always part of that conversation.
What the instructors see on the lesson floor
The suits that cause the most problems in lessons aren’t the ones that are obviously wrong. They’re the ones that look fine on the beach but gap at the lower back the moment a child paddles. That lower-back gap is the most common fit failure, and it’s almost always caused by a suit that’s one size too large in the torso. A child in a correctly fitted suit paddles more efficiently, pops up faster, and stays in the water longer. That’s not a minor detail for a beginner; it’s the difference between a successful first lesson and a cold, frustrated one.
Bring the suit to the first lesson. Instructors can spot a fit problem in under a minute and suggest a rental swap if needed. A quick fit review before entering the water is standard practice at Hhsurf and costs nothing extra.
Hhsurf makes the fit check part of the lesson
Getting the wetsuit right at home is half the job. The other half is having an experienced eye confirm it before your child paddles out for the first time.
At Hhsurf’s kids surf lessons in Waikiki, instructors run a fit check at the start of every session as a standard part of the lesson, not an add-on. If something’s off, the team can swap in a rental suit on the spot so the lesson stays on schedule. For families who want to skip the guesswork entirely, rental equipment is available with every booking. Private and semi-private lessons give instructors more time to work through gear questions individually, which is especially useful for younger kids or those with unusual proportions. Book a kids lesson at Hhsurf and bring the suit along. The fit check is built in.
Sources
These are the brand and retailer pages worth checking before you order:
- Kids Wetsuit Size Guide | Find the Perfect Fit (2T-6T) | Le Grom
- Kids Wetsuit Size Chart
- Size Chart Boys 8-16 Wetsuits – Quiksilver
- Kids’ O’Neill Wetsuit Size Chart – Evo
- Xcel Wetsuit Size Chart
- Wetsuit Size Guide
Always check the product page for the specific model you’re buying, not just the brand’s general chart. Return policies vary by retailer, so confirm before ordering if you’re buying online without trying the suit first.
0 Comments